




 By
By 
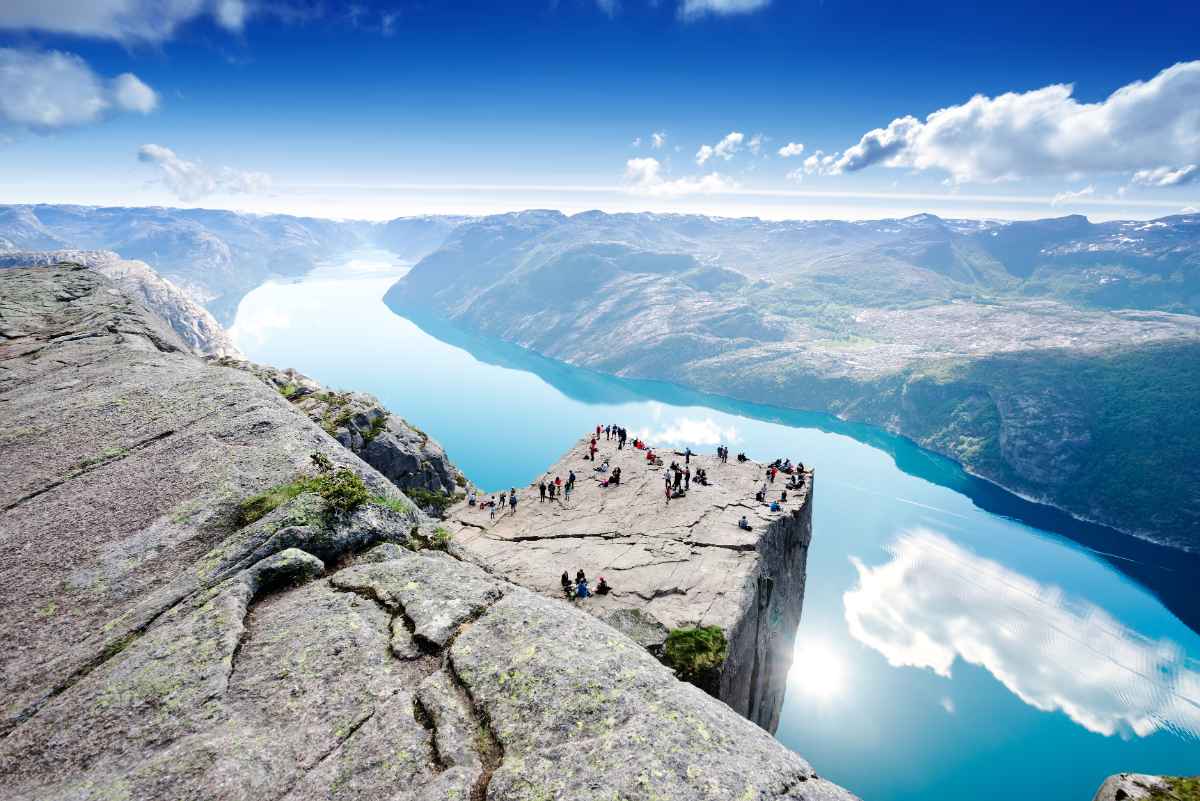
Welcome to one of the most Instagrammable spots in the country! The Preikestolen in Norway (also known as Pulpit Rock). It’s an oddly-shaped cliff face with a raggedy 600+ meter drop, but with such a flat and smooth top surface that it resembles someone having cut a warm block of butter in half (so where’s the rest of our rock, huh?!).
But in all seriousness, Pulpit Rock is a magnificent sight that offers spectacular 360-degree views across the landscape, including the beautiful Lysefjord. More than 300,000 visitors a year can’t be wrong, so this is a must on any campervan road trip itinerary. Here’s what you need to know:
How to Get to Preikestolen
There are a couple of ways to get to Preikestolen once you’re in the country. Both mean that you will have to get yourself to the nearest city, called Stavanger, though. The trip will take roughly 40-50 minutes, depending on whether you’re driving yourself or taking the bus. Either way, it’s always safe to allocate at least an hour in your itinerary for travel time.
Traveling to Preikestolen by Bus
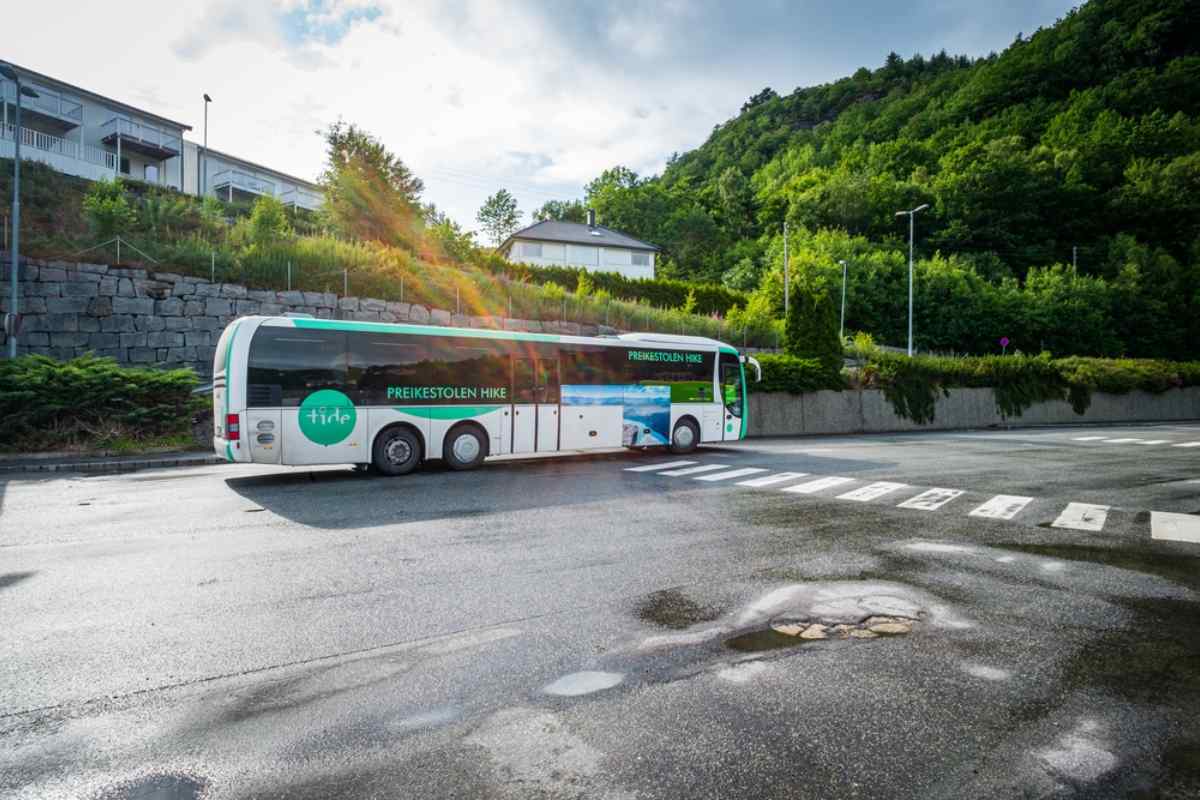
If you’d like to park the camper in Stavanger, you can catch one of the buses heading to Preikestolen. But please note that these are not public bus services. It’s private shuttle services that will require booking. You can check out the time schedules and book your spot on the bus to Pulpit Rock here:
Traveling to Preikestolen by Camper
As always, this might just be the easiest and most convenient option. If you’re using a GPS, please type in ‘Preikestolen Lower Parking.’ Parking is about 275 NOK (+/- $28/€24) if you stay more than 2 hours, so budget accordingly. And please note, this is not an overnight parking spot, so this is solely a day outing in your camper.
The Hike to Preikestolen
Getting to the actual rock formation takes more than just getting to the parking lot, though. You will need to take on the hiking trail first before being rewarded with the Pulpit. But don’t worry, you don’t need to be an avid hiker or complete fitness nut to tackle this trail.
This out-and-back trail is 8.8 km (5.4 miles) long with an incline of 460 meters (1500 feet). With its stone steps, wooden pathways, and platforms, anyone who describes themselves as moderately active can complete this trail (although those with a fear of heights might struggle, for obvious reasons).
Most will complete the hike in 3 to 4 hours, leaving ample time for admiring the views, taking a few Instagrammable snapshots, and doing some more exploring of the surrounding area the rest of the day.
Just take note that although the trail is incredibly well-maintained, you’ll still need proper footwear (preferably sturdy waterproof hiking boots with soles that have good grip), and you need to be careful when the trail is wet since it can get pretty slippery.
Also, don’t throw your trash away along the walkway. Bring it down with you to properly dispose of in a bin (and, yes, this includes perishables such as banana peels, etc.). You’ll find most of the basic facilities and amenities you need at the beginning of the trail, such as an info/visitor centre, souvenir shop, and toilets.
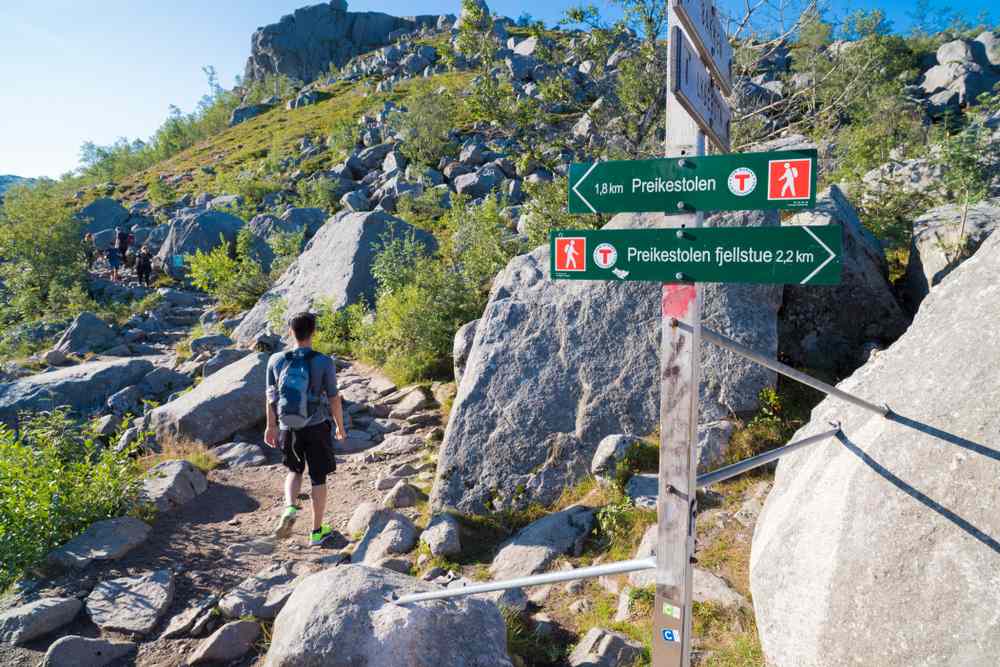
The only thing you’ll find along the trail is a tiny emergency shelter (aka tiny wooden structure resembling a bus stop). However, we’d really recommend you give that a skip unless there’s a real emergency (it seems that some people confuse it with the toilets found at the start of the trail *eyeroll).
General Safety Tips When Hiking Preikestolen
If this is your first time hiking Preikestolen, the following tips and advice will be helpful:
- Check the weather forecast before heading out. Yr.no is a reliable site for this.
- Ensure you keep the length and duration of your hike in mind, and be sure to give yourself ample time to complete the hike, and also ensure that you’re not hiking in the dark.
- Don’t wear sandals or sneakers on your hike. They don’t offer sufficient grip or ankle support and are guaranteed to leave your feet sopping wet the moment they hit some moisture.
- Don’t try to “push through” your hike if you’re ill or have a pre-existing injury. Preikestolen is not going anywhere, and you’ll have plenty of opportunity to hike to its breathtaking views once you’re well again.
- Don’t leave the trail. This is for your own safety as well as the protection of our ecosystem.
Save our emergency numbers on your phone (just in case):
- +47 51 51 70 00 – Mountain Search and Rescue
- 110 – Fire Brigade
- 112 – Police
- 113 – Ambulance Services
The Best Time to Visit Preikestolen
For all intents and purposes, visiting Preikestolen should only be done during our warmer months (May to September). Although Pulpit Rock is technically open all year round, we’d highly recommend not taking it on if you’re not an experienced climber or mountaineer (weather and trail conditions simply become too treacherous).
For the best weather, the longest daylight hours, and high temperatures, you’ll need to visit during our summer months (June to August). For many of these summer perks, just without the peak time prices and fewer crowds, May and September should be your go-tos.
If you’re planning on visiting during our peak summer season, but would still like to avoid too much foot traffic, we recommend you either head out early in the morning or later in the afternoon. After all, in the summertime, you can quite literally have daylight till midnight!
Where to Park Your Campervan at Preikestolen
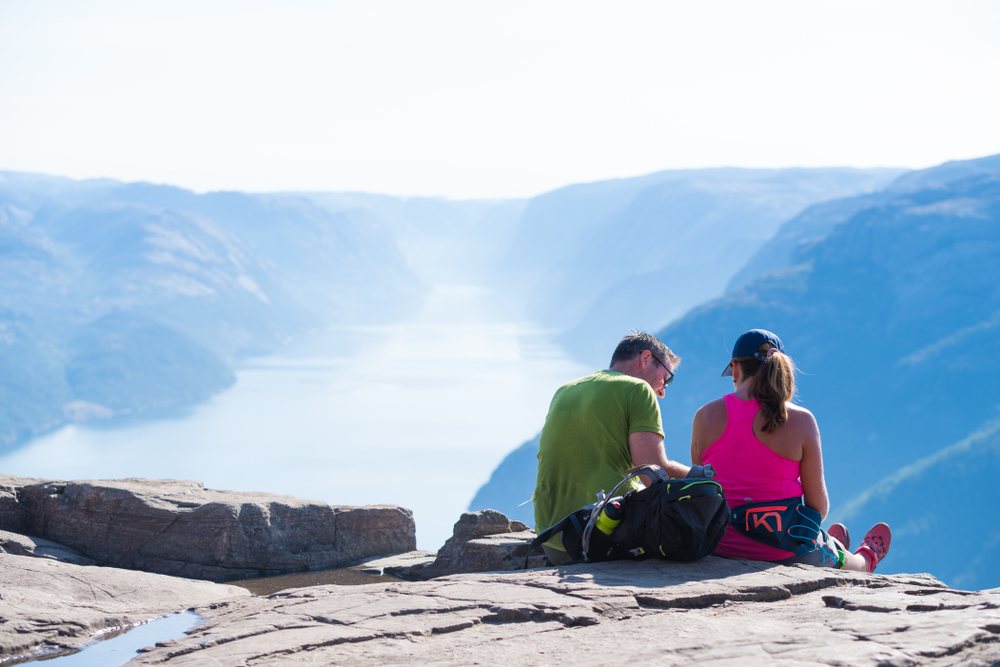
There are two parking lots at Preikestolen: Preikestolen Parking (P1) and Moslimyra Parking (P2). Remember when we advised you to enter ‘Preikestolen Lower Parking’ in the GPS? Well, that’s P1, and there’s a good reason why it’s the recommended parking lot.
P2 is a kilometer away from the trail, so you’ll need to add another kilometer to your hike (uphill!). The biggest challenge with parking is that P1 is often full (no surprise there), so try to visit when the trail is not so busy (off-seasons, weekdays, early mornings, late afternoons, etc.).
Also, if it gets tempting to just park next to the road – don’t. Allemansretten does not apply, and it’s illegal to park within 4 kilometers (2.5 miles) of Preikestolen’s parking areas. Hot tip: if you’re camping with your camper nearby, many campsites in the surrounding area offer shuttle services to Pulpit Rock.
What Clothes to Wear and What to Pack for Your Trip to Preikestolen
The name of the game in most of the Nordics is layer, layer, layer. The weather can change quickly, and your own body temperature can also change rapidly when you're busy with outdoor activities.
So, when you wear layers of clothing, you’ll always have the option of taking something off or putting something on, depending on the circumstances. For a Preikestolen outing, please be sure to have the following:
- T-shirt/Long-sleeved shirt (once again, you can even layer these so you’re well-prepared).
- Jumper or Fleece made from breathable material (think gym; you’re not getting on a treadmill in a woolen sweater).
- Warm, water-and-windproof jacket.
- Water-and-windproof pants.
- 2 pairs of warm, breathable socks (an extra pair as backup).
- Sunglasses and sunscreen.
- Hat (if you want to protect your eyes against any blinding glare and sunburn).
- Waterproof hiking boots.
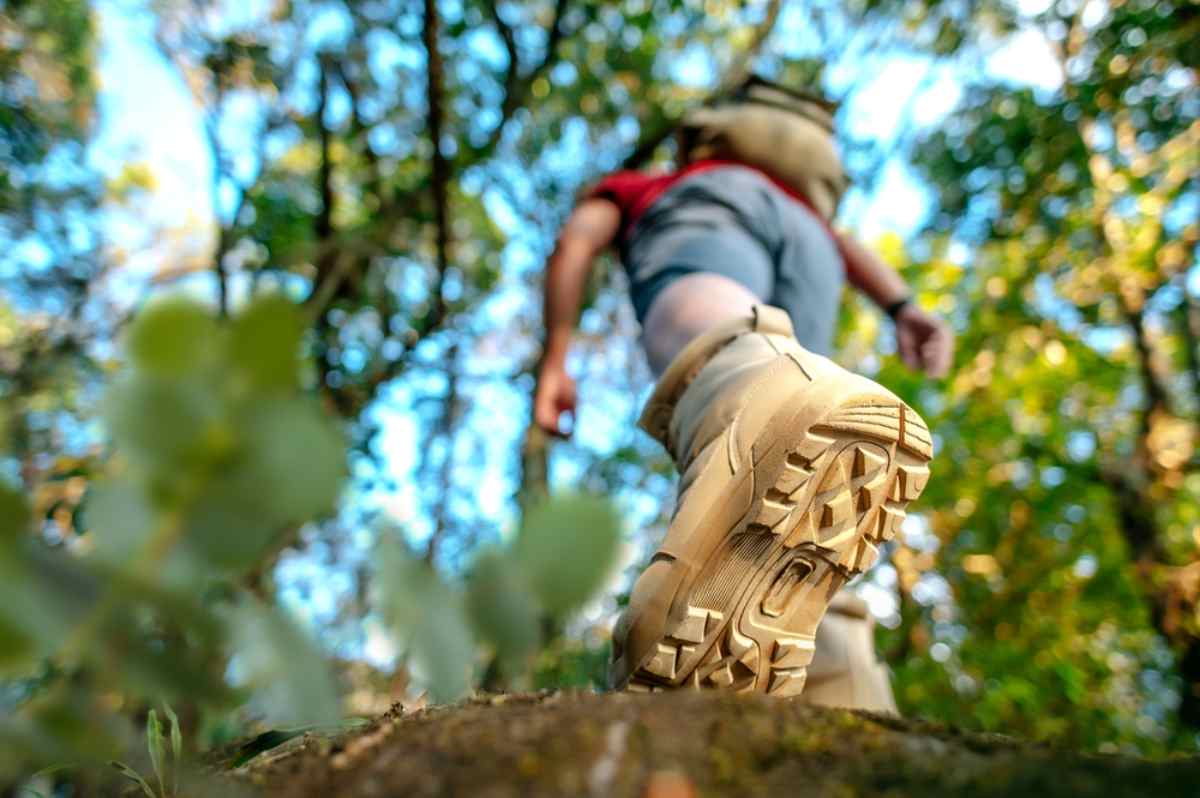
In your backpack:
- Waterbottle filled with water. Ensure you bring enough since you’ll only be able to refill it at the visitor centre.
- Snacks like energy bars, trail mix, and other dried fruits and nuts. It’s advisable to always take slightly more than you need, just in case.
- An empty trash bag (for bringing any trash back down with you).
- A flashlight (although we prefer a headlamp that keeps your hands free). Although this is an item for any season (just in case), it becomes especially important during our colder months.
- A spare set of clothes. This is completely optional, and only if you have room in your backpack. But it’s always a good idea to have an extra set of clean and dry clothes just in case.
Specific extras for the colder months:
- Crampons.
- Trekking poles (used for hiking in snow and ice).
- Warm gloves.
- Beanie or other type of comfortable warm hat.
- A warm scarf made from breathable material or a bandanna.
Best Place to Stay When Visiting Preikestolen
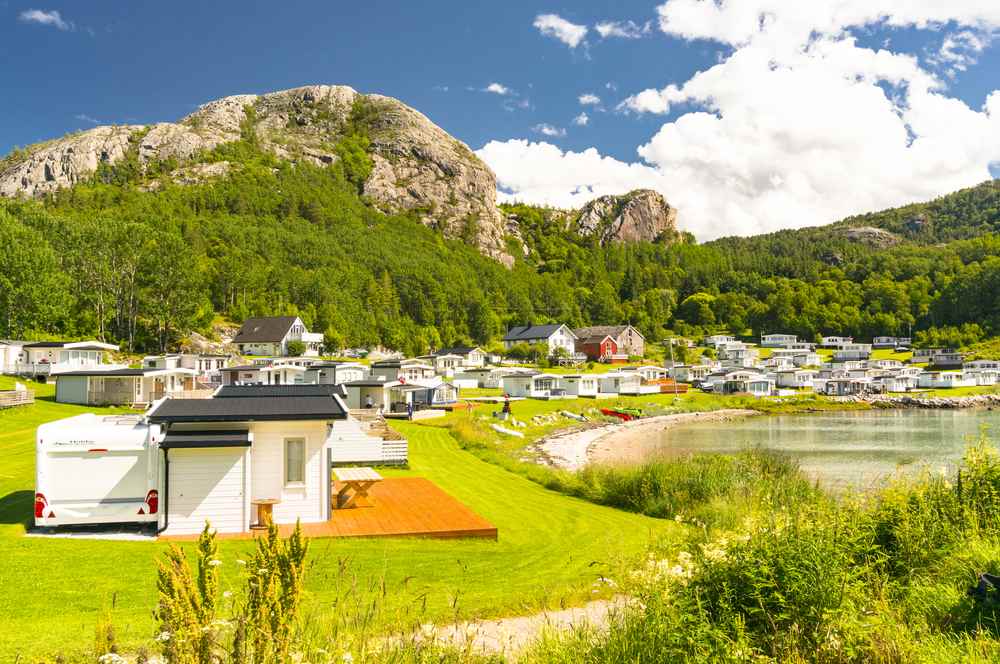
The best place to stay when visiting Preikestolen in your camper is Preikestolen Camping. It’s got great facilities, is a mere 4.2 kilometers (2.6 miles) away from the start of the hiking trail, and offers a shuttle service to Pulpit Rock.
You’re Officially Ready to Plan and Prep for Preikestolen!
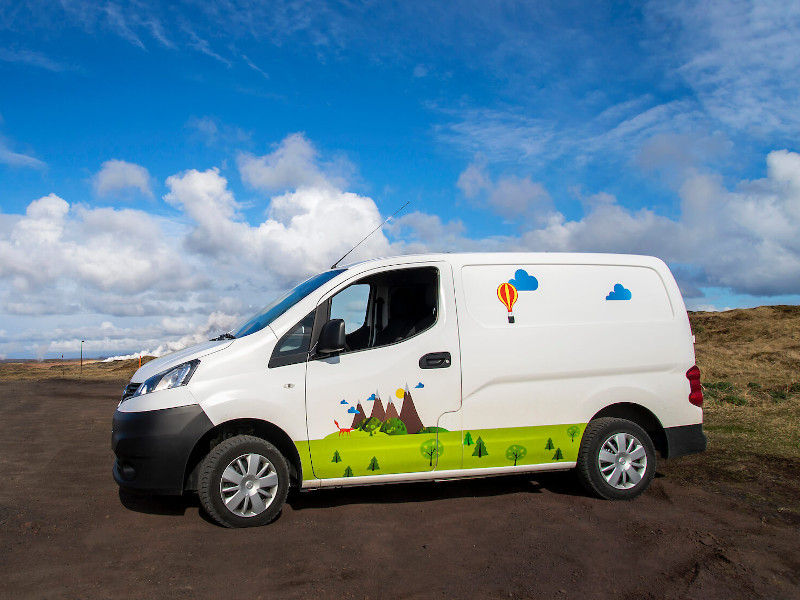
After reading our guide, you’re officially ready to plan and prep your Preikestolen adventure. Rent your campervan in Norway and head out to the southwest for a couple of days of hiking and sleeping in the shadow of our infamous Pulpit Rock.